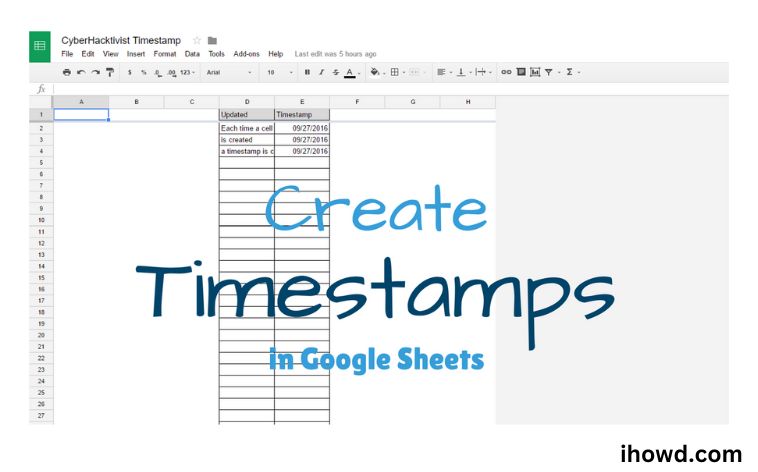
How to Use Timestamps in Google Sheets? Do you want to know who made changes to your Google Sheets data—you or someone else? You might need to include the date and time of specific activities or events in your spreadsheet.
If so, timestamps in Google Sheets might be something you want to start using. Values that display the precise date and time of something are known as timestamps. For example, they can be used to log activities, monitor progress, assess performance, or produce reports.
Below, we’ll walk you through using timestamps in Google Sheets.
How to Use Timestamps in Google Sheets
1. Establish a Dynamic Timestamp
Every time you open the Excel file, a dynamic timestamp modifies. The NOW and TODAY Functions can be used to accomplish this, respectively.
“NOW” Function
The NOW Function updates your Excel file with the current date and time.
Choose the cell you want the time and date to appear in, then type:
After =NOW(), hit ENTER.
THE TODAY PERFORMANCE
The TODAY Function updates your Excel file with the current date.
Choose the cell you want the date to appear in, then type:
=TODAY(
Next, hit ENTER.
NOW and TODAY are Excel functions that do not accept any arguments; therefore, you must place empty brackets at the end of both of them.
2. Static Timestamp creation
When you enter a static timestamp in Excel, the date and/or time will not change when the file is next accessed.
Select the cell that you want to fill with the date to insert the current date. Press the semicolon (;) key while holding down the CTRL key on the keyboard.
Select the cell where you want the date to go in order to insert the current time into that cell. Press the semicolon (;) on the keyboard while holding down the SHIFT and CTRL keys. (A shift-semicolon functions similarly to a colon.)
Select the cell where you want the date and time to go in order to insert the current date and time. First, use CTRL + ; to enter the date. Then, using CTRL + SHIFT +, click in the formula bar to add the time, and then press ENTER.
Even if the formula bar displays both the date and the time, the cell is only designed to display the date.
Choose Home > Number > Custom from the Ribbon to format the cell so that it displays the date and time.
Select the desired format, then type and press OK.
3. How to Insert Static Timestamps Using Shortcuts on the Keyboard
Using keyboard shortcuts is the quickest way to insert a timestamp in Google Sheets. You may rapidly enter the current date, time, or both into a cell using these keyboard shortcuts.
The following are the Google Sheets keyboard shortcuts for adding static timestamps:
Holding down the Control key while pressing the semicolon key will insert the current date.
Holding down the Control and Shift keys while pressing the semicolon key will insert the current time.
Or you can type the complete timestamp:(Holding down the Control, Alt, and Shift keys while pressing the semicolon key)
This implies that until you actively alter them, the timestamps that these shortcuts insert will remain static. The default date and time format settings in your spreadsheet are likewise used by these shortcuts.
By selecting your timestamp, picking an alternate option, and hitting Format > Number > More Formats, you can modify these settings.
4. Google Sheets timestamp insert
You may also include dynamic timestamps in your Google sheet by using the NOW and TODAY Functions.
Use CTRL + ; and CTRL + : to insert the date or time for static timestamps. While Excel lacks the keyboard shortcut CTRL + ALT + SHIFT + ; (Control-Alt-Shift-semicolon), Google Sheets does. The selected cell will now have a static date and time inserted into it.
A Conclusion
This tutorial should have provided all the information you needed to insert a timestamp in Google Sheets. You may frequently get by with just utilising the keyboard shortcuts indicated at the beginning of the post, despite the fact that using the script can be a little challenging for less experienced users.
Visit ihowd again soon to read more articles.
