Cleaning a car’s carburetor is easier than it might seem. Although it may seem difficult, you don’t need to be an expert on carburetors to do the procedure.
It might be difficult to keep your carburetor clean when it is responsible for creating the ideal fuel-to-air ratio for the internal combustion that occurs inside your engine and enables it to run. But if you stick to the instructions we’ve provided, cleaning your carburetor will be as simple as 1, 2, 3.
In this post, we’ll show you how to clean a car carburetor step-by-step and describe the tools you’ll need to do it.
A Step-by-Step Guide to Cleaning Your Carburetor

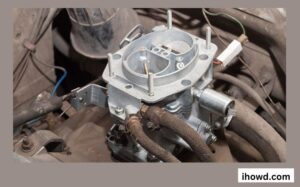
1. Take the carburetor out of the manifold.
With it on the manifold, you can clean some sections of the carburetor, but not all of it. In addition, you’ll probably drop something into it while you’re working, which will leave you with a severe headache. To stop trash or other things from falling into the open cavity, be sure to tuck a clean rag into the manifold.
Step 2. Drain the internal fuel
It’s preferable to tilt the carburetor so that any remaining fuel drains into a catch pan, keeping your workstation tidy for your convenience.
Step 3. Take the carburetor apart
The four screws holding the “float,” or bottom portion of the carburetor, in place must first be removed. To completely remove the float from the carburetor, use the needle nose pliers to remove the float pin.
The jets, represented by the screws with a hole in the centre, should then be taken out because they mix the gasoline and air. The pilot jet is longer and thinner than the main jet, which is short and thick and requires the use of a Phillips screwdriver. For this one, you typically use a flathead screwdriver.
Starting with the air screw and idle screw, which are both placed on the sidewalls of the carburetor and can both be removed with a flathead screwdriver, you may now take out the components that are visible from the exterior. In order to examine the internal O-rings and gaskets, you should also take them out.
Most importantly, keep in mind that you’ll need to put everything back together after cleaning, so arrange all of these parts neatly and in locations where you can readily see them.
Pro tip: To make reassembling the parts easier, record the process with photos or a video camera.
Also Read How to Clean an LCD Screen?
Step 4. Let them soak
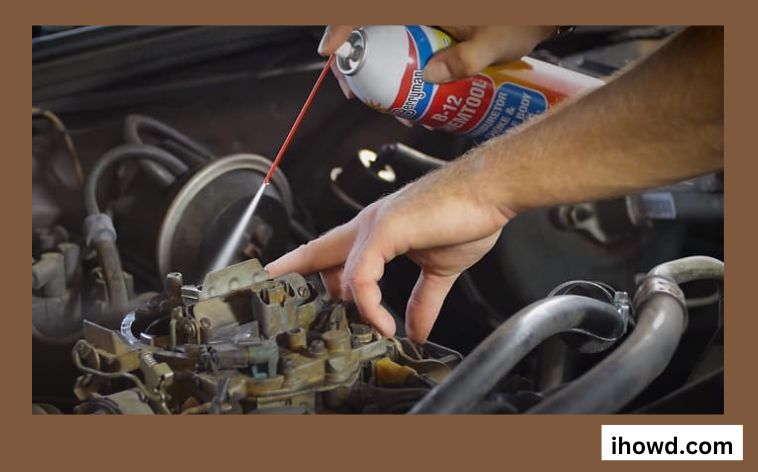
Put on your safety goggles and gloves before taking the carburetor parts and soaking them for 20 to 30 minutes, depending on how large they are, in carb and parts cleaners.
To ensure that every part is completely submerged, you can choose to use a larger or deeper container for larger components. Just be sure to leave more doors and windows open for air because the fumes are dangerous to breathe in.
Step 5. Get rid of the filth
You can choose to start cleaning the smaller carburetor parts with the wire brush while they are still wet in order to get rid of the dirt and grime, drying the parts off once you are pleased with their cleanliness.
In order to avoid overexposing larger parts to the carb cleaner, which could cause them to become brittle over time, it is recommended to leave them in first to soak before carefully scrubbing them thereafter.
Step 6. Repair the carburetor
You may now begin reassembling your carburetor using your prior images or videos as a guide after everything has been air-dried (you can also use compressed air to dry things off more quickly).
The carburetor should be put back together in the same order as it was taken out to ensure a smooth operation. Verify that all of the parts are fully returned and that the screws are placed exactly where they should be.
Before attaching the carburetor to the manifold itself, it is advisable to double-check that everything is screwed back on and that the o-rings and gaskets are firmly tucked inside.
Conclusion
It’s challenging, but not impossible, to learn how to clean a carburetor, as long as you have the necessary tools and follow the right procedures.
You have now read everything there is to know about cleaning carburetors, so just put it into practise and bid farewell to pricey expert services!
Afterward, kindly come back and share your experience with us and other readers in the comments section. This is particularly crucial if your insights can help our article’s content. Anyone you believe may profit from or enjoy the article’s content is welcome to read it.
Watch IhowD for additional information and guides.
