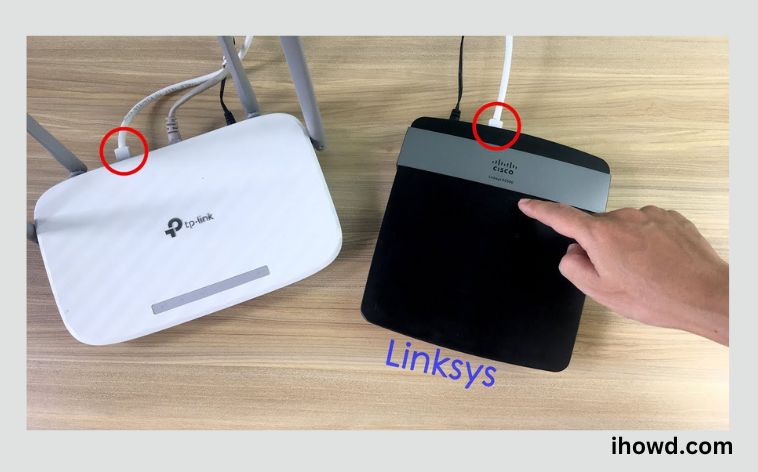
Using the Smart Setup Wizard with a suitable web browser makes it simple to set up the Linksys Smart Wi-Fi Router. The Smart Setup Wizard is built into the firmware and accessible even if the router is in its default configuration or without an internet connection.
This article will show you how to use the Smart Setup Wizard to configure your Linksys Smart Wi-Fi Router.
QUICK TIP: All Linksys Smart Wi-Fi Routers support the Smart Setup Wizard.
Establishing a router
Step 1: Select a location for the router
A wireless business router works best in an open area of the office since it will provide even coverage. It can be challenging to locate an open area, though, because you need to connect the router to your ISP’s internet gateway, which is typically connected to a wire that runs along an exterior wall.
Step 2: Connect to the Internet
Choose a mesh router or connect the router to a wire.
You can use a CAT5e or CAT6 cable to connect the router to the Ethernet port on the ISP gateway in order to get around the “long-distance” issue while connecting a router. Another choice is to run Ethernet wires through your office’s walls to the router’s chosen central location.
The installation of a mesh network using a router is yet another choice. Multiple Wi-Fi transmitters can be placed throughout your home or office and be connected to one network thanks to a mesh network. Mesh networks need a router with this feature built-in, unlike extenders, which may be used with any wireless router.
Whatever choice you decide on, you’ll connect to the router’s wide-area network (WAN) or Internet port using a standard Ethernet connection. Usually, the Internet port is distinguished from other ports by a distinctive colour.
Check the LED lights on the router
If you have successfully established an active Internet connection, your router’s LED lights will let you know. Make sure the cable is connected into the correct port if you don’t see any lights indicating a connection.
Related How to Recover your ICQ Password?
Utilize a device to check the connection
Plug a laptop computer into one of the device ports on the back of your router to make sure the connection is active. If all goes according to plan, you ought to be able to start a wired connection, just as you did when you verified an active Internet connection.
Step 3: Configure the wireless router gateway
ISPs occasionally provide clients with gateways that include built-in routers. These hybrid devices are typically not designed for corporate situations, and they lack extra ports, security features, and other configuration options that would enable you to add services and expand networks as your company grows.
If your gateway has a built-in router, you must set it up so that it bypasses the router and routes all network traffic to your new router. The WAN IP address is the special Internet protocol address that your Internet provider allocates to your account.
This step must be taken since failure to do so could result in conflicts that prohibit devices from operating as intended. You might need assistance with this step from your ISP.
Step 4: Join the router and the gateway.
Turn off the gateway first. If an Ethernet cable is already connected to the gateway’s local area network (LAN) port, disconnect it and connect it to your router’s WAN port instead. Restart the gateway and give it some time to boot up. Once more, wait a few minutes after plugging in the router’s power source and turning it on.
Step 5: Utilize an app or web dashboard
If the router manufacturer has offered a mobile app, using it to continue router setup is the simplest option. Connect the router to a computer with an Ethernet wire if there isn’t an app or if you’d prefer to use the router’s web-based dashboard.
Related How does a Magnetic Compass Work?
If not, enter 192.168.1.1, a typical router address, into the browser’s search box. You might be able to discover the router’s IP address printed on the device’s back.
Step 6: Create a username and password
You must log in to the router using the admin name and password that are set by default. This information is typically printed on the router itself or in the user guide that comes with it.
Next, input the necessary information. As soon as you log in, you need to make a new username and password. The typical defaults are “admin” and “password1234,” which are obviously insecure—be sure to change them as soon as you can.
Step 7: Upgrade the firmware of the router
Updates to your router’s “firmware,” or controlling software, may be necessary. As soon as you can, update the firmware since it can contain bug fixes or add additional security measures.
Many routers do not automatically download new firmware, but some do. You might need to use the app or the browser interface to check for updates.
Related How to Build a Speaker Box?
Step 8: Create a Wi-Fi password
The majority of routers also have pre-set Wi-Fi usernames and passwords, just like they do with pre-assigned admin usernames and passwords. Even if you don’t get a prompt to update the Wi-Fi login and password, be prepared to do it right away.
Step 9: Whenever possible, use auto-configuration tools
Use the auto-install options on your router if they are available to assist with setup. For instance, the Dynamic Host Configuration Protocol (DHCP), which distributes IP addresses to devices automatically, should allow you to manage IP addresses via auto-configuration. These addresses can always be modified afterwards.
Step 10: Set up security
Many router manufacturers offer security features to protect user and network privacy. To protect yourself from dangerous traffic, you can connect into the online dashboard and enable additional security measures like a firewall, browser filtering, and access limits. Virtual private networks (VPNs) can also be set up for privacy.
